Claude Code Node
What if your workflow could think for itself -- reading files, making decisions, and writing code -- not just passing prompts back and forth?
The Claude Code node brings agentic AI into Ritemark Flows. Unlike the LLM Prompt node, which sends a single prompt and gets a single response, Claude Code operates as an autonomous agent. It can explore your workspace, analyze multiple files, run multi-step reasoning, and produce structured output. All from within your visual workflow.
How It Differs from the LLM Node
The LLM Prompt node is great for straightforward tasks: summarize this text, rewrite that paragraph, generate a title. You give it a prompt, it gives you text back.
The Claude Code node is something else entirely. It receives a task description and then figures out the steps on its own. It can read files in your workspace, reason about their contents, and produce output that reflects genuine analysis rather than pattern completion. Think of the LLM node as a translator and the Claude Code node as a research assistant.
Before You Start
The Claude Code node requires two things to be set up on your machine.
First, you need the Claude Code CLI installed. If you haven't set it up yet, follow our Set Up Claude Code guide. The short version: run npm install -g @anthropic-ai/claude-code in your terminal and verify with claude --version.
Second, you need an ANTHROPIC_API_KEY environment variable. Get your key from the Anthropic Console, then add it to your shell profile:
export ANTHROPIC_API_KEY="sk-ant-your-key-here"
Tip: If the LLM Prompt node works but the Claude Code node fails, the issue is almost always a missing API key or CLI installation. The two use different providers -- LLM uses OpenAI, Claude Code uses Anthropic.
Adding the Node to a Flow
Open the Flows panel by clicking the Flows icon in the Activity Bar. Create a new flow or open an existing one.
To add a Claude Code node, drag it from the node palette onto the canvas. Connect it like any other node -- drag from the output handle of an upstream node (like a Trigger) to the Claude Code node's input handle.
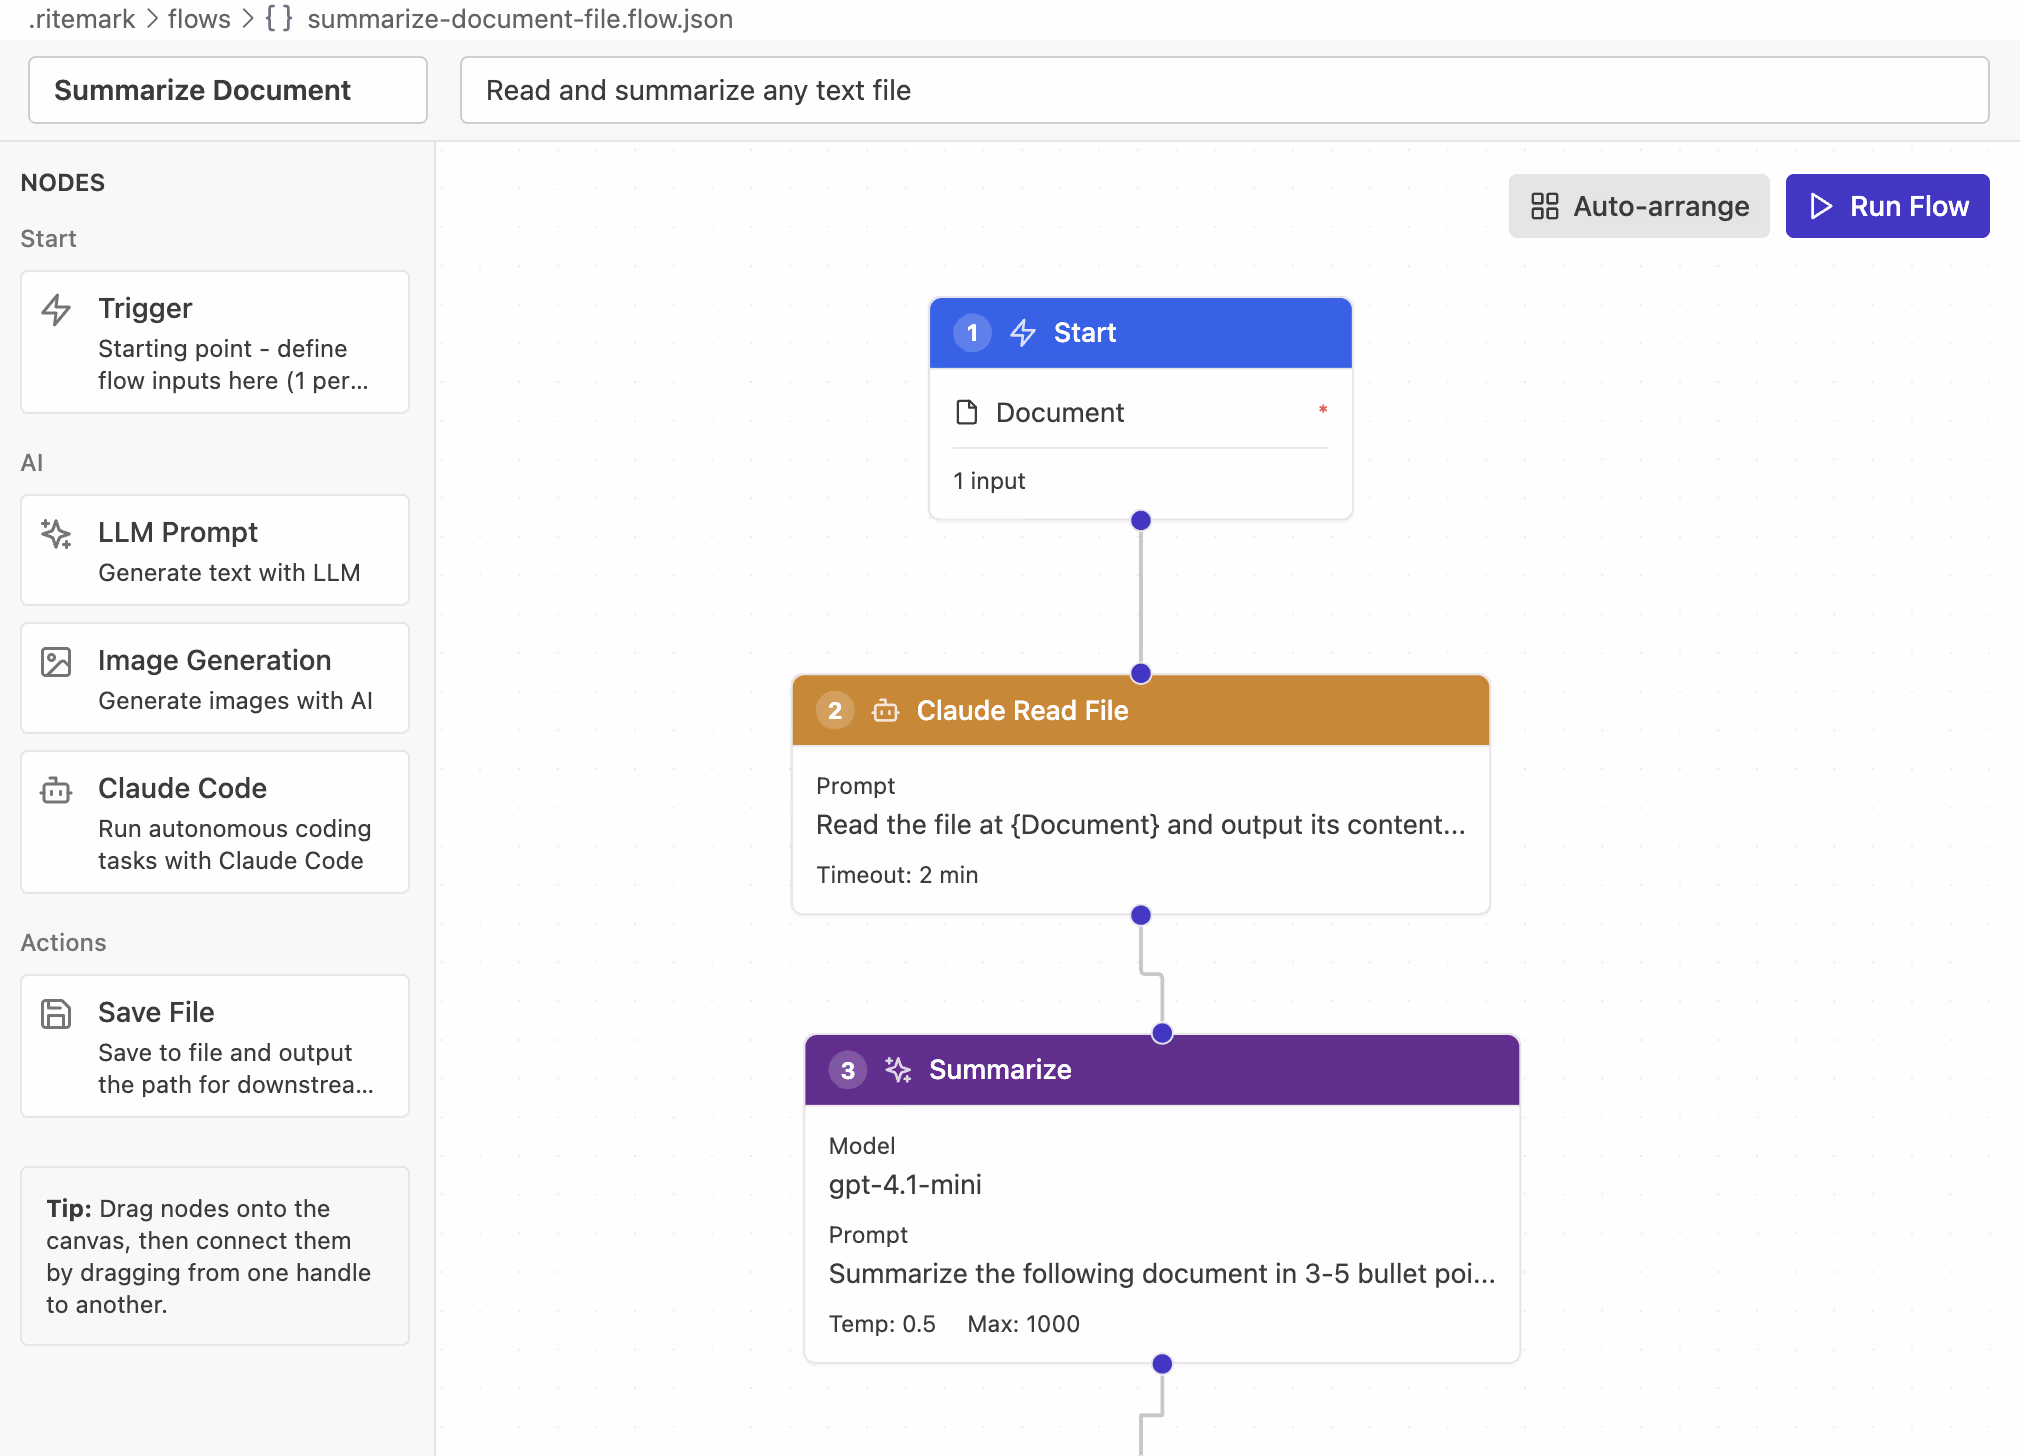
 The Claude Code node in the Flows editor -- agentic automation, visual style
Configuring the Node
Click on the Claude Code node to open its configuration panel. You'll see a Task field where you describe what you want the agent to do.
Write your task in natural language, just as you would instruct a colleague. You can reference variables from upstream nodes using double curly braces. For example, if your Trigger has an input called filename, your task might read:
Analyze the file {{filename}} and produce a structured summary with key findings, methodology, and recommendations.
The node captures the agent's final text output and passes it downstream. Connect it to an LLM node for further refinement, or directly to a Save File node to store the result.
Example Workflow
Here is a practical workflow that turns raw research into a polished report:
Trigger (filename) --> Claude Code (analyze file) --> LLM (summarize) --> Save File (report.md)
The Trigger accepts a filename as input. Claude Code reads and analyzes the file, producing detailed findings. The LLM node takes those findings and writes a concise executive summary. Save File stores the finished report in your workspace.
To build this yourself, start with a Trigger node and add a File input called filename. Connect it to a Claude Code node with a task like "Read {{filename}} and identify the three most important insights." Add an LLM node with a system prompt like "You are a technical writer" and a user prompt like "Write an executive summary from these findings: {{claude_output}}". Finally, connect to a Save File node targeting report.md.
Click Run Flow, pick a document, and watch the entire pipeline execute automatically.
Success: You've just built an agentic workflow. Claude Code handled the complex analysis, while the LLM refined the output into polished prose.
Tips for Effective Tasks
Be specific about the output format. Instead of "analyze this file," say "analyze this file and produce a markdown table with columns: Finding, Evidence, Recommendation." The more concrete your instructions, the more useful the output.
Tell the agent what to focus on. Claude Code can do many things, so guide it. "Focus on data quality issues" is better than "look at the CSV."
Keep tasks focused. One well-defined task per node works better than cramming multiple goals into a single prompt. Use multiple Claude Code nodes in sequence if you need different types of analysis.
Use variables to stay flexible. Reference {{filename}} or {{topic}} from your Trigger instead of hardcoding values. This makes your flow reusable across different inputs.
Troubleshooting
"Claude Code CLI not found" -- The node can't locate the claude command. Make sure you've installed it globally with npm install -g @anthropic-ai/claude-code and that your terminal's PATH is configured correctly. Restart Ritemark after installation.
"Invalid API key" or authentication errors -- Your ANTHROPIC_API_KEY environment variable is missing or incorrect. Check it with echo $ANTHROPIC_API_KEY in the terminal. The key should start with sk-ant-.
Node times out -- Complex tasks can take a while. Claude Code performs multi-step reasoning, so analysis of large files may need more time than a simple LLM prompt. Consider breaking the task into smaller pieces across multiple nodes.
Output is empty -- Make sure your task description is clear about what output you expect. If the agent doesn't know what to return, it may complete its analysis without producing usable text for downstream nodes.
Quick Reference
| What you want to do | How to do it |
|---|---|
| Add Claude Code node | Drag from node palette to canvas |
| Configure task | Click node, edit Task field in right panel |
| Use variables | {{variable_name}} in the task field |
| Connect to next node | Drag output handle to input handle |
| Run the flow | Click Run Flow button |
| Check prerequisites | claude --version and echo $ANTHROPIC_API_KEY |
Related
- Ritemark Flows -- Visual workflow editor overview and all node types
- Set Up Claude Code -- Install Claude Code CLI and configure API key
- AI Assistant -- Built-in chat sidebar for quick text edits